Assign M365 licenses with Azure group-based licensing-2

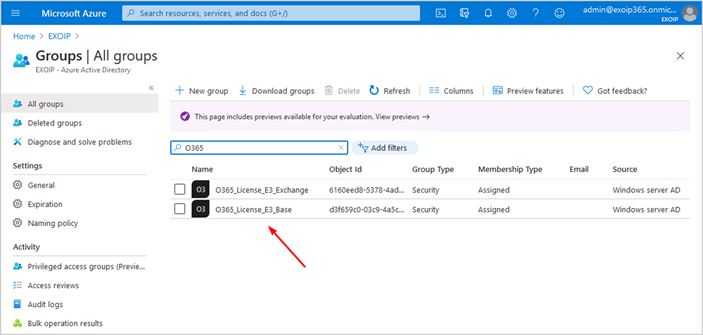
Wait a couple of minutes and do a refresh in Microsoft Azure or search again for the groups. In this case, O365.
Click
on the groups to assign the licenses, or another way is to go to Azure Active Directory > Licenses > All products.
Select the checkbox M365 E3 and click Assign.
Click on Users and groups and select the Office365_License_E3_Base.
Click Assignment options and select the license options for the group.
Do the same, but this time add the group O365_License_E3_Exchange.
Select the license option Exchange Online (Plan 2).
Verify
licensed groups
Click on the product M365 E3.
Click in the menu Licensed groups and verify that you see both the groups. The state is Active, and the Enabled Services shows how many services you assigned.
Add
user to security group
Add a user to the group O365_License_Microsoft_Team_Exploratory
Force
sync with Azure AD.
PS
C:\> Start-ADSyncSyncCycle
-PolicyType Delta
Click
on the group.

Click Members and verify you see the user.
Another
way to check and which we recommend is to select Licensed users in the menu. Verify the user in the
list and check which groups show up in the Assignment Paths.
Looks great! You can assign M365 licenses in bulk by adding all the users to the security group on-premises. Don’t forget to sync!

Add New Comment