Step-by-Step Guide: Installing CentOS 7 on Hyper-V

CentOS 7 is a popular Linux distribution known for its stability and open-source nature. If you're looking to set up CentOS 7 on a virtualized environment using Hyper-V, you're in the right place. In this step-by-step guide, we'll walk you through the process of installing CentOS 7 on Hyper-V to help you get your virtual machine up and running smoothly.
Prerequisites: Before we begin, make sure you have the following:
- A system running Hyper-V (ensure that virtualization is enabled in your system's BIOS).
- A CentOS 7 ISO image. You can download it from the official CentOS website.
Step 1: Create a New Virtual Machine in Hyper-V:
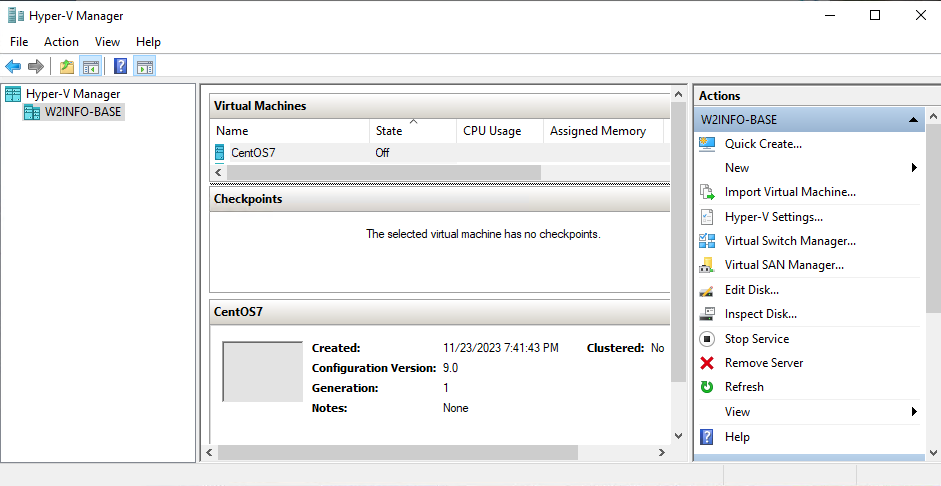
- Open Hyper-V Manager on your Windows machine.
- Click on "Action" in the menu bar and select "New" > "Virtual Machine."
- Follow the wizard to set up your virtual machine. Specify the name, location, and generation. Choose at least 2048 MB of RAM and create a new virtual switch if needed.
Step 2: Attach CentOS 7 ISO:
- Select your newly created virtual machine.
- Click on "Settings" in the menu.
- Under the "Hardware" tab, select "DVD Drive" and on the right pane, choose "Image file" to attach the CentOS 7 ISO.
Step 3: Install CentOS 7:
- Start your virtual machine.
- The CentOS installation screen will appear. Choose "Install CentOS 7" and press Enter.
- Follow the installation wizard, configuring language, time zone, and installation destination.
- Set the root password and create a user account.
- Customize the software selection based on your preferences.
- Click on "Begin Installation" and wait for the installation process to complete.
Step 4: Configure Post-Installation Settings:
- Once the installation is complete, click on "Reboot" to restart the virtual machine.
- After reboot, log in using the credentials you created during the installation.
Step 5: Install Hyper-V Integration Services:
- Open a terminal and run the following command to install the Hyper-V integration services:
sudo yum install hyperv-daemons -y
Step 6: Finalize Configuration:
Reboot the virtual machine to apply the Hyper-V integration services.
sudo rebootAfter reboot, your CentOS 7 virtual machine should be fully operational on Hyper-V.
Congratulations! You have successfully installed CentOS 7 on Hyper-V. Feel free to explore and customize your CentOS environment according to your needs.

Add New Comment